
Garden in a Glove | A Science Project
In this age of constant digital contact, connecting my kids to nature seems more difficult than ever here in Chicago. Fortunately, the amazing thinkers at Camp Science, have envisioned innovative ways to bring children closer to nature. Fortunately for me and my children, Monsanto has developed Homeschool Camp Science AND a K-12 Educational Outreach that fuses STEM with home school education.
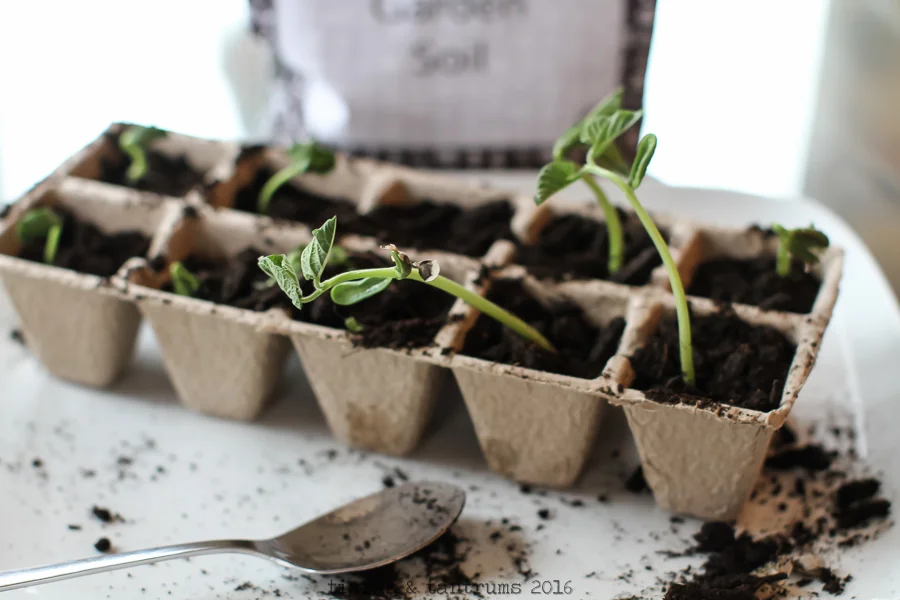
Our next Camp Science experiment was Garden in a Glove. We are currently waiting for warmer weather to transplant all our seedling in the ground. I seriously had to turn my heat on last night as we dipped to 40 degrees! We are days away from May 1st and I am sitting her bundled up in my home. Our seedlings are warm in my dining room!
Botony and Camp Science
This semester the girls are studying Botony and Camp Science Garden in a Glove ties in perfectly!
Every little seed is a tiny living thing. But it is fast asleep. Once a seed begins to grow, it becomes a seedling. But a seed is essentially dormant. A see really only needs three things to wake up: warmth, water and air. We planted some seeds in a rubber glove to prove just that. You might think that a seed needs soil, but it really does not.
During the middle of winter, my girls conducted an experiment where they place wet paper towels in three separate plastic baggies and placed seeds in each bags. They then placed the bags in three different locations to find the ideal location for the seed to wake up. A dark closet, taped to the window and in the refrigerator. Where do you think the seeds turned into seedlings?
The closet!! Do you want to know why? The seeds turned into seedlings rapidly because and grew because they were searching for light! The seeds used all the stored food in the cotyledon find its way out of the darkness and into the light.
Disclosure: This Garden in a Glove | A Science Project #CampSci is sponsored by Monsanto. I have not been compensated for this post, I received the Science kit for my children. All opinions are my own. #CampSci #Monsanto
Garden in a Glove Science Project

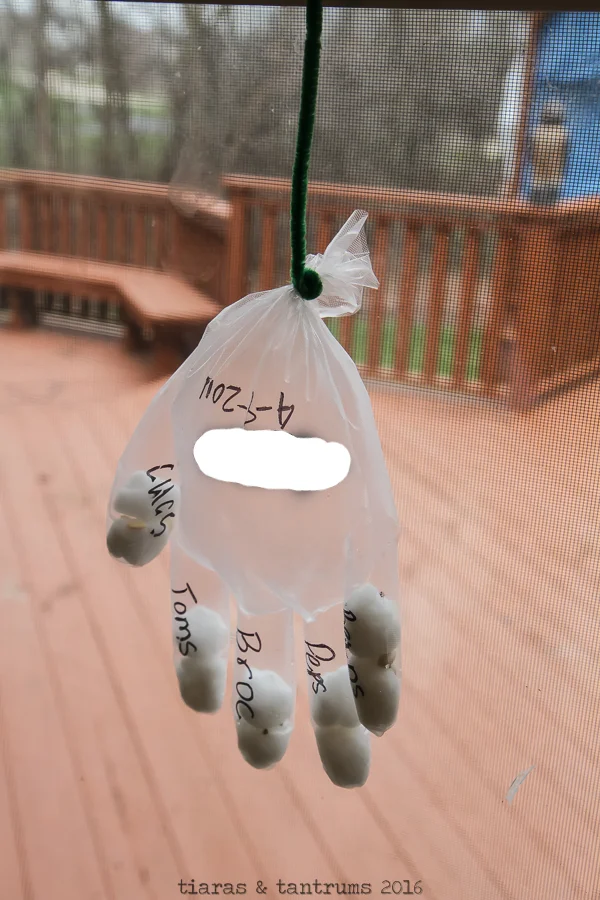
Recently we conducted the experiment by placing seeds in the fingers of a plastic glove. Remember, seeds only need warmth, water and air to turn into seedlings.
Question: Does temperature effect seed germination?
HYPOTHESIS: More bean seeds will germinate when temperatures are cold than when it is hot.
Question: Does light influence seed germination?
HYPOTHESIS: Germination rates will be greatly influenced by light.
Question: Do plants grow toward the light?
HYPOTHESIS: Plants will turn toward the light as they grow.
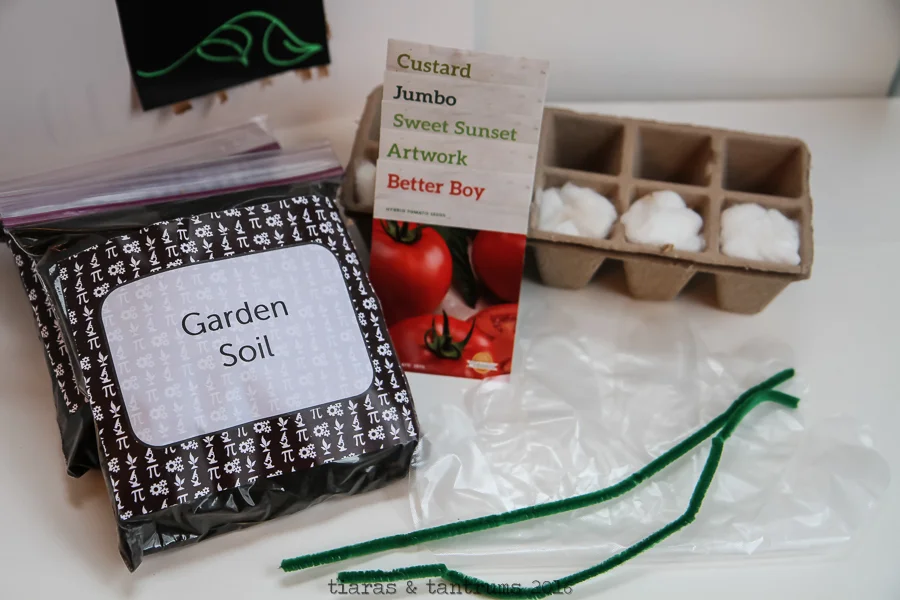
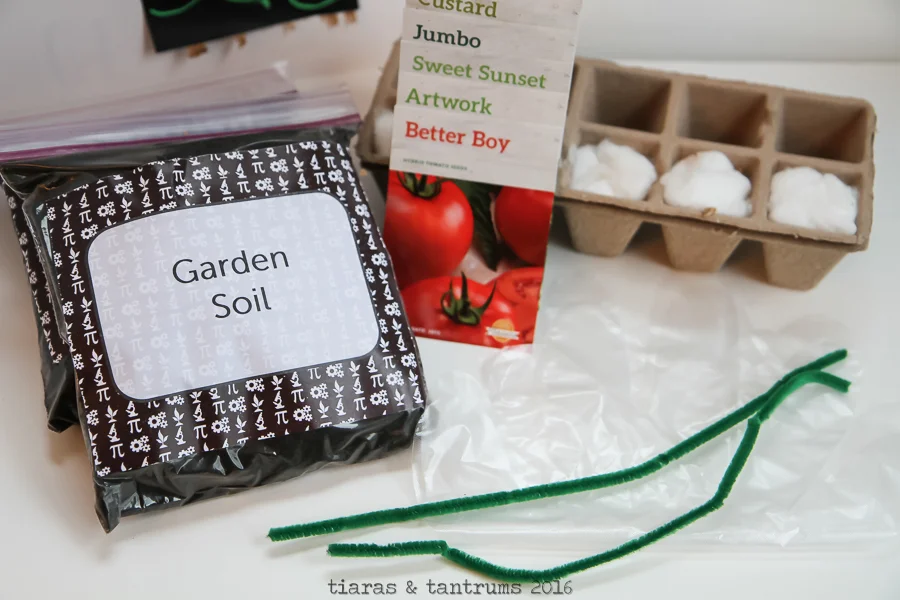
SUPPLIES:
• 1 Clear Plastic Food Grade Glove
• 10 Cotton Balls
• 5 types of seeds (3-4 of each). Choose
a variety of plants you want to grow
(and eventually eat).
• 1 Permanent Marker
• 1 Twist Tie or Pipe Cleaner
• Soil
• Planting cups (optional)
• Scissors
• A glass of water
PROCEDURE
With Garden in a Glove, you will be able to see the life cycle of plants and discover what seeds need to germinate and produce fruit or vegetables.

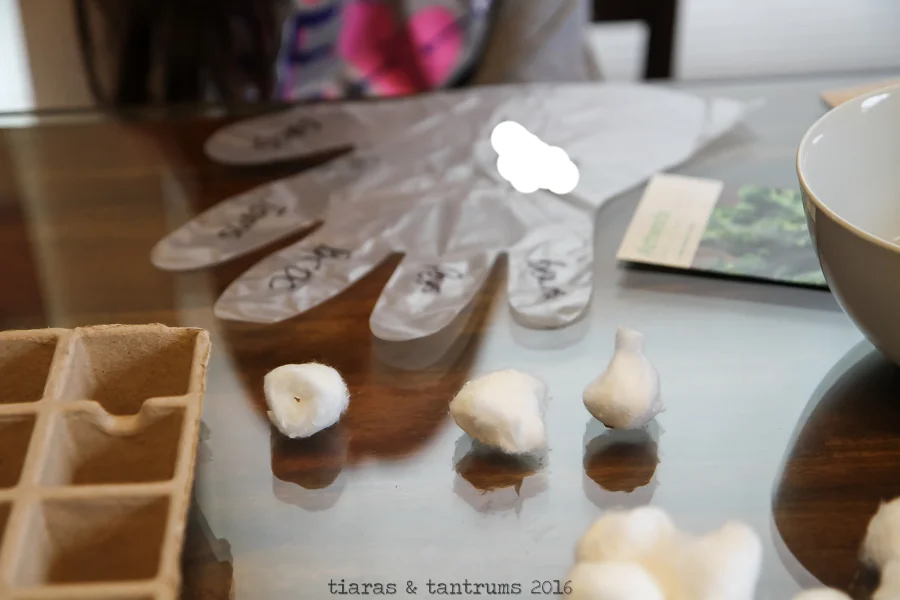
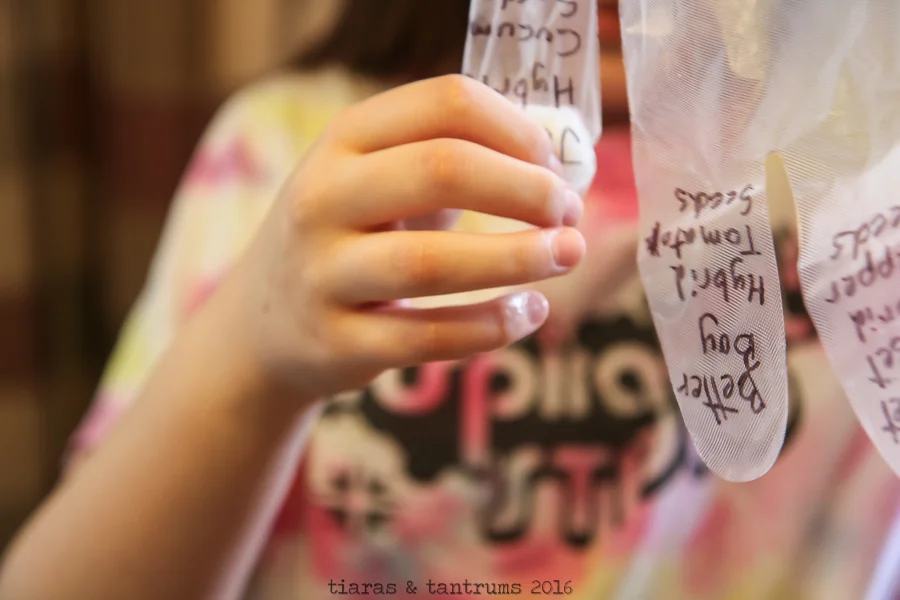
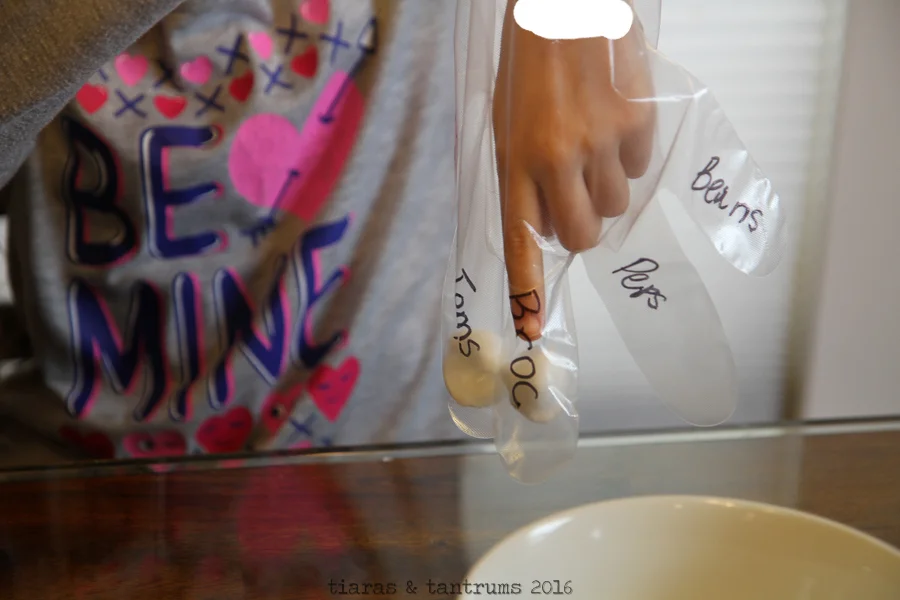
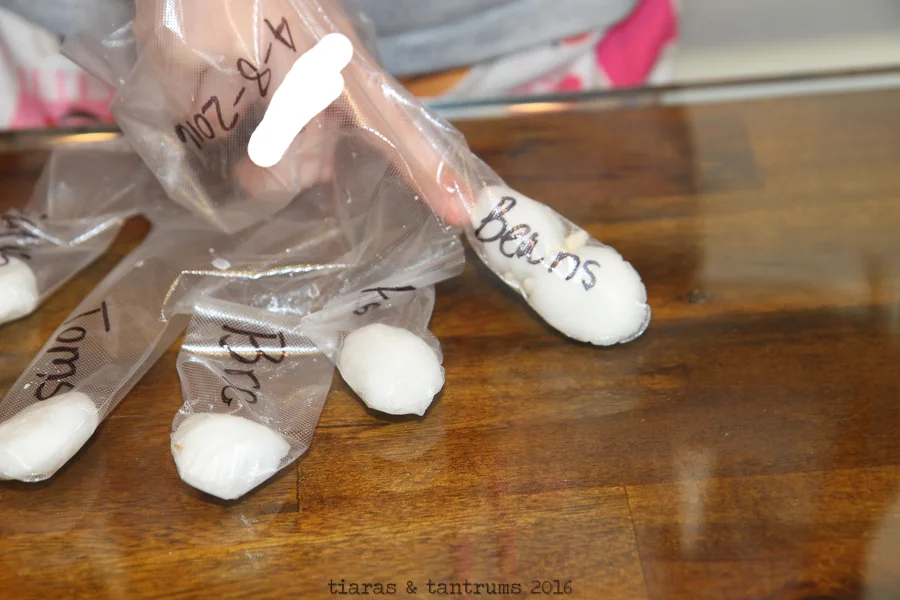
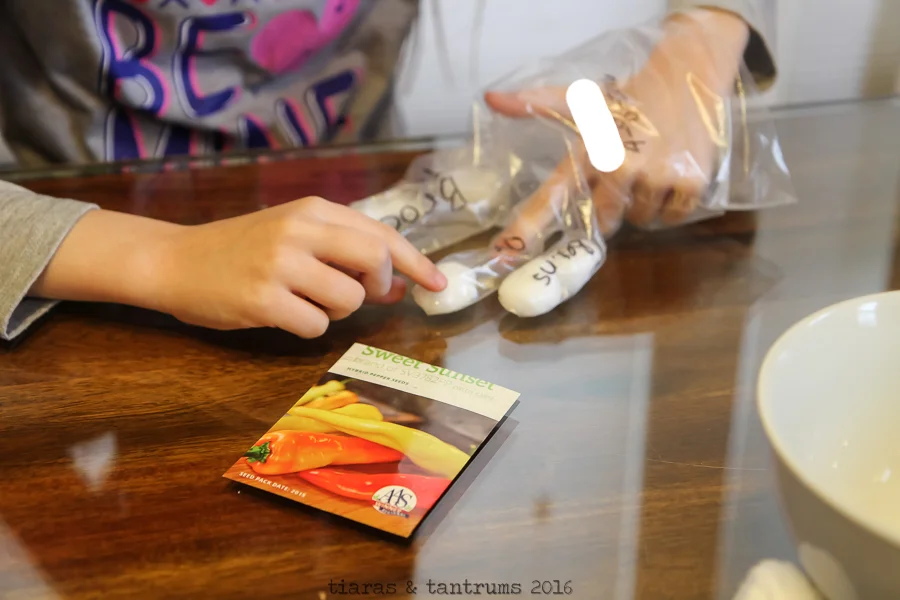
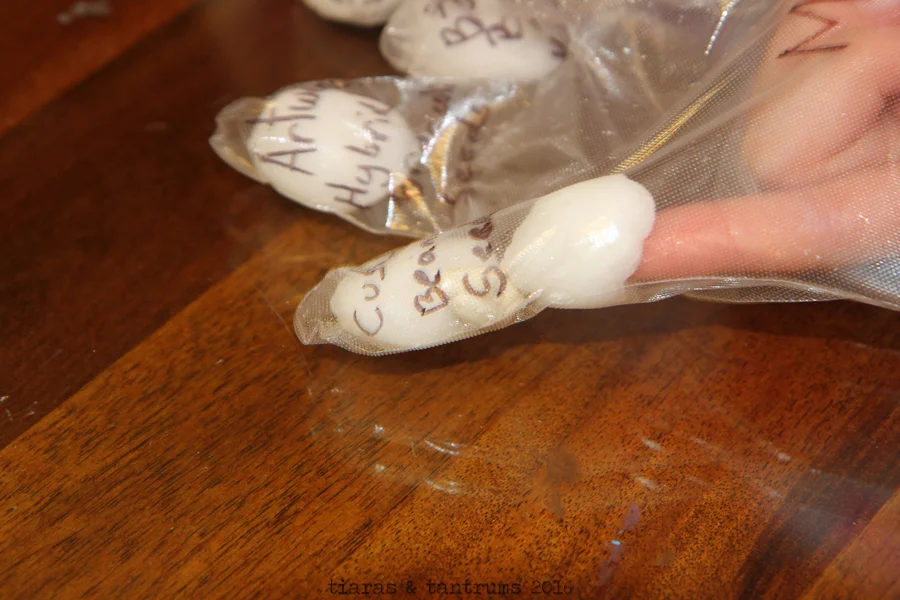
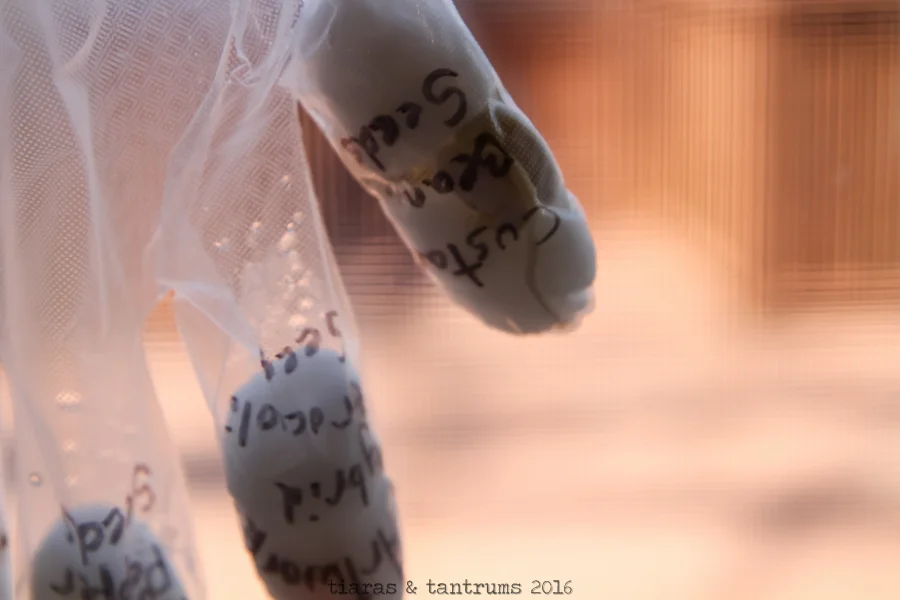
Step 1: On each finger and thumb of the glove, write the type of seed that you plan to put into each.
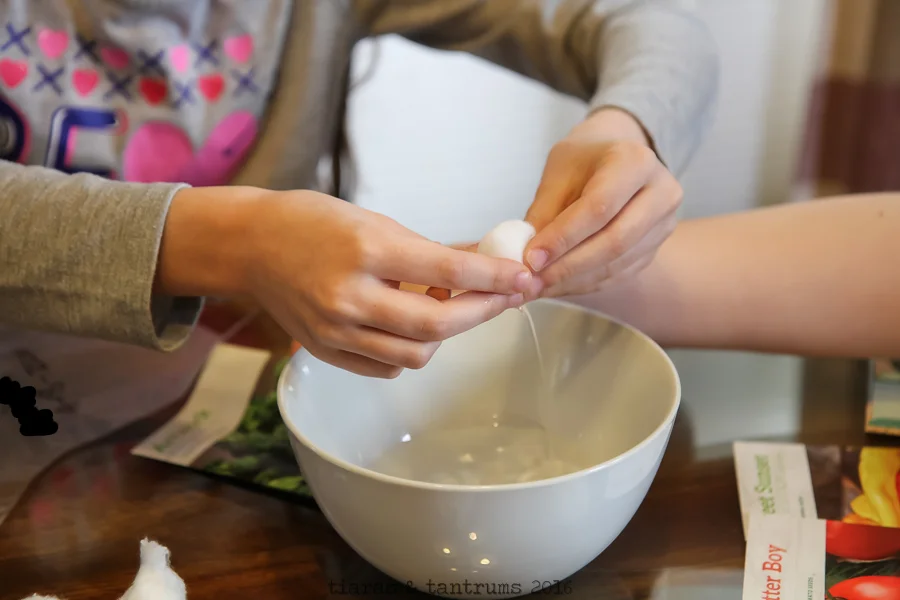
Step 2: Wet five cotton balls in the glass of water and squeeze the excess water out of the cotton balls.
Step 3: Place one cotton ball in each finger and thumb of the glove.
Step 4: Place 3-4 seeds in each one of the fingers and thumb of the glove. Make sure you match the seeds to the labels you have put on the glove.
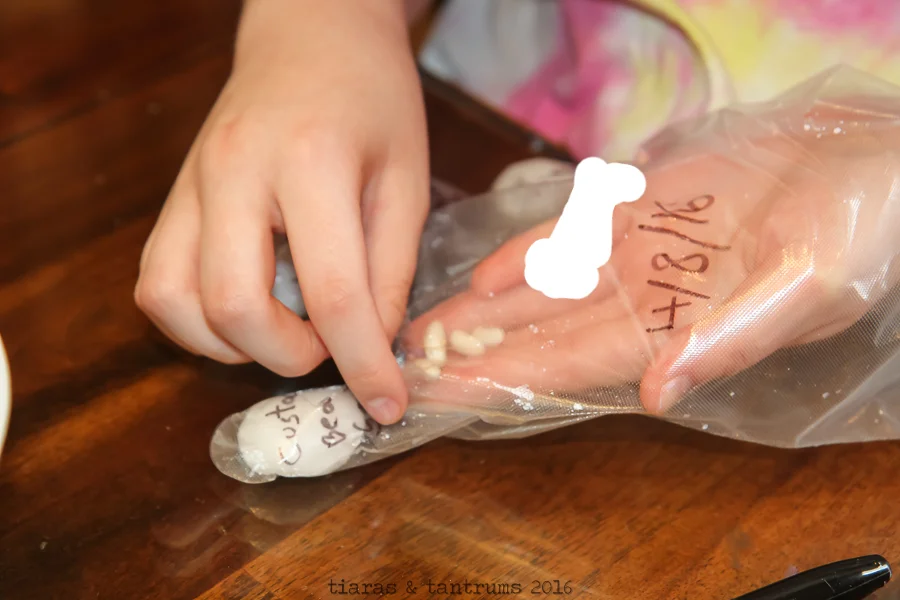
Step 5: Wet five cotton balls in your glass of water and squeeze the excess water out of the cotton balls. Place one cotton ball into each finger/thumb of the glove on top of the cotton balls that were placed in step 3. Cover the seeds as best as you can.
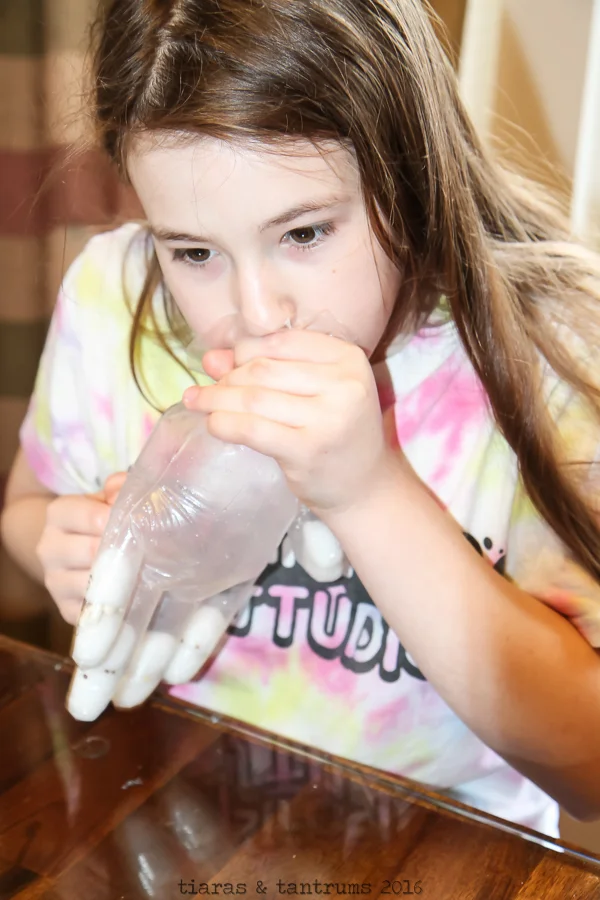
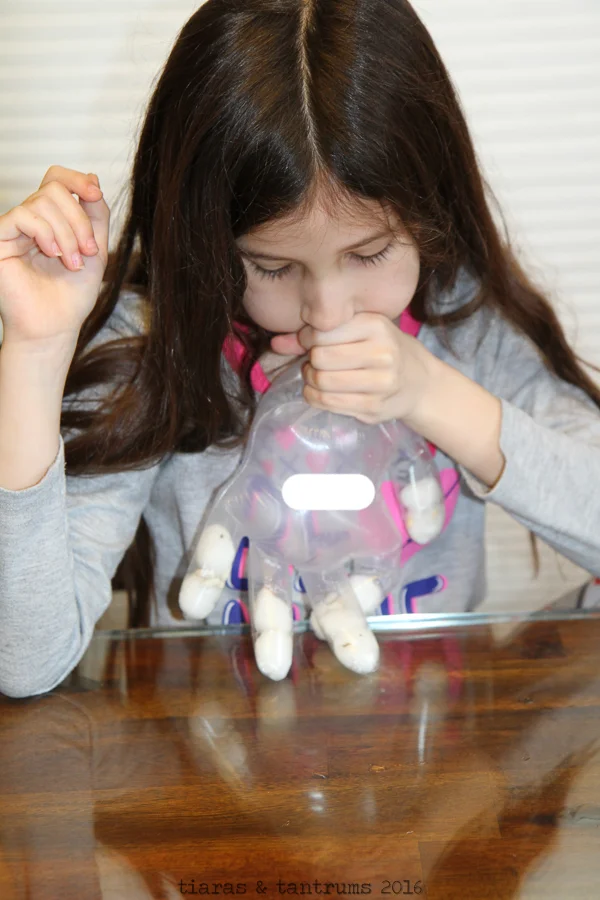
Step 6: Blow air into the plastic glove and tie it closed with a twist tie or pipe cleaner. Tape the glove to a window, chalkboard or wall. You can also pin them to a clothes line. Make sure the area you choose is warm and has a source of light.
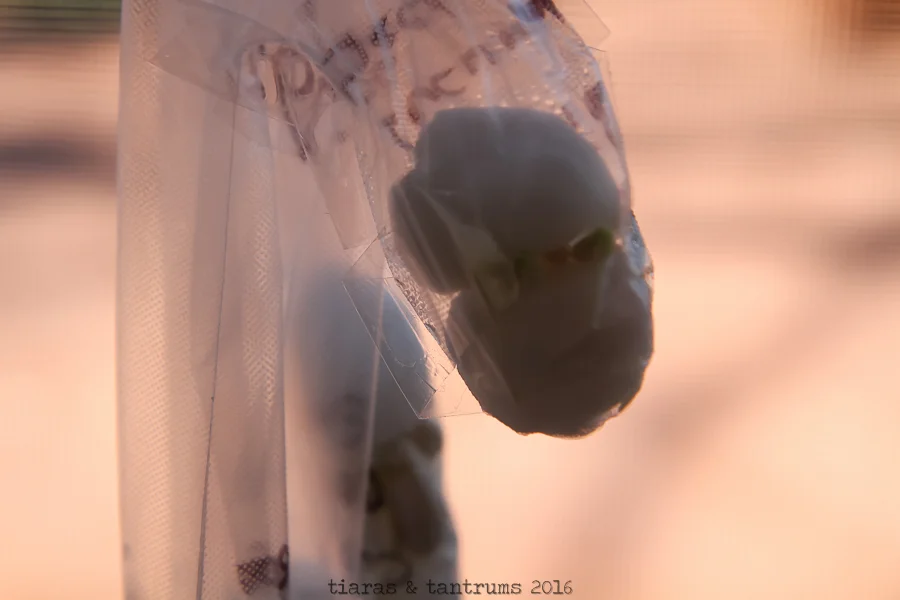
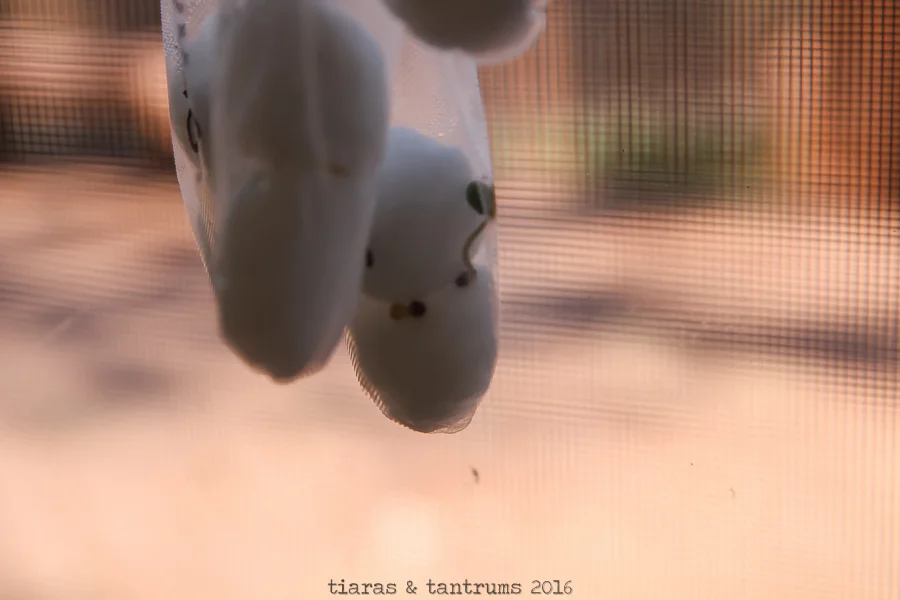
Step 7: Check your plants each day. In 3-5 days, you should see them beginning to germinate, and you will know this happens when you see that the husk of the seed is open and roots start to emerge. The cotton balls should be moist through the germination process. If any of them seem dry, add a small amount of water to the cotton ball(s). Use care as seeds are most vulnerable as they start emerging.
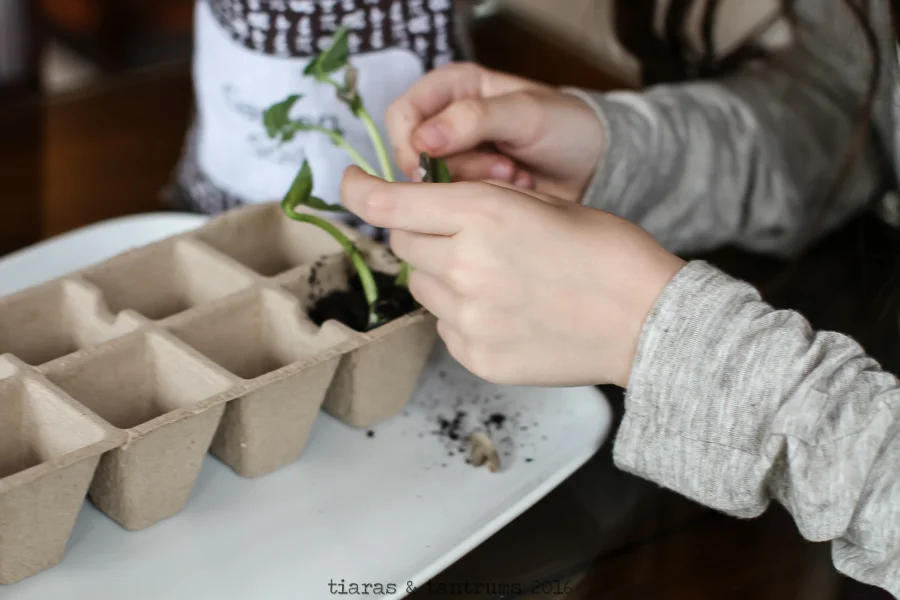
Step 8: When 9-14 days have passed after the start of the experiment, transplant the seedlings into soil. If the outdoor conditions are too cold or wet to transplant the seedlings into the ground or an outdoor pot, consider planting them in the biodegradable planting cups provided in your science kit until outdoor conditions improve. This is a great way to start your garden.

Garden in a Glove
{lesson plan for home educators}
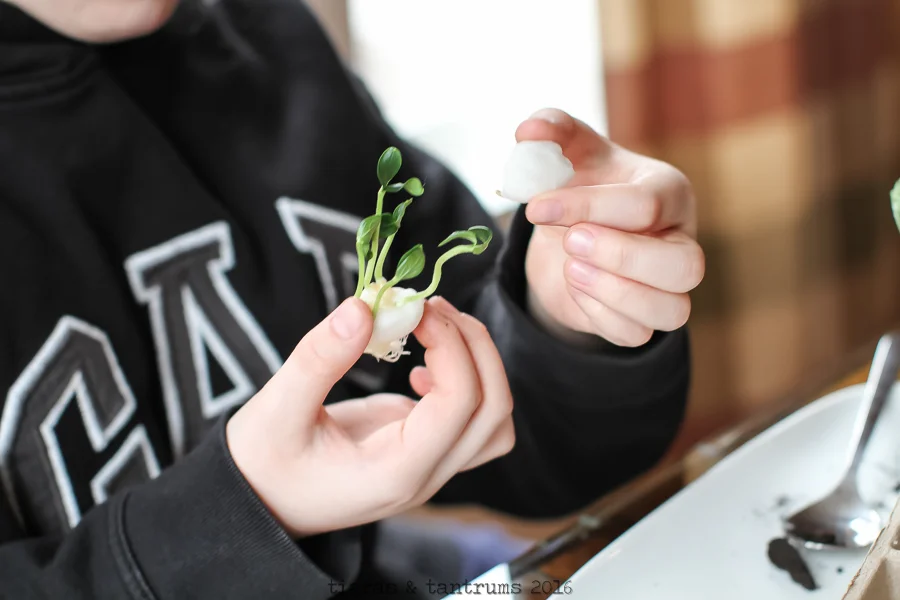
Once water surrounds the seed, the testa of the seed loosens. Water gets inside the seed and the embryo wakes up. This starts the germination process! My girls were able to observe all of this right in the fingers of the plastic gloves.
Next a tiny arm called the radicle will push its way out of the seed and begin to grow downward. This will develop into a root of the seed. Next the hypocotyl and the epicotyl will begin to form. The hypocotyl will eventually turn into the stem of the plant. The hypocotyl will push its way upward, and the testa will fall off of the seed. if the seed is planted in dirt -- this is the first part you will see poking its way up through the surface).
The hypocotyl becomes the stem and the epicotyl will begin to poke out of the seed. The epicotyl is the formation of the first true leaves--the plumule. In between the epicotyl and the plumule will be the cotyledons. These are often called the seed leaves. The cotyledons supply food to the developing plant. The cotyledons have all the nutrition the baby plant needs for several days.
Guess what the "food" is? SUGAR! Plants love sugar. Plants really can't live without sugar, it is their food. They make it right inside their leaves. Plants produce their own food, so they really are their own producers.
Do you know why plants grow leaves? They grow their leaves to feed themselves. Each leaf on a plant has a stomata, sort of like a mouth. They don't actually eat, but they help the leaf make food for the plant. Without stomata in its leaves, a plant would ton be able to survive. The stomata are tiny holes in the leaf surrounded by guard cells.
The guard cells swell up once the sun comes out each morning and the stomata open. This allows carbon dioxide into the leaf. The leaf then used the carbon dioxide to make food for the plant. When the sun sets, the guard cells shrink and go to sleep for the night.
The leaves of plants are super important. If you pick all the leaves off, the plant will likely not survive. We need the plants because they not only provide food for us to eat -- but they also release oxygen into the air for us to breathe! (If you are thinking how do tress survive in winter without their leaves -- that is a totally different lesson ☺)
The stomata allow oxygen to leave the leaves so that we can breathe it. Without all the leaves on our planet, we would have less oxygen to breathe. But here is another good reason to not pick all the leaves off plants-- plats also clean the air by taking in carbon dioxide and replacing it with fresh oxygen. They absorb harmful chemicals that are dangerous for us to inhale.
Photosynthesis
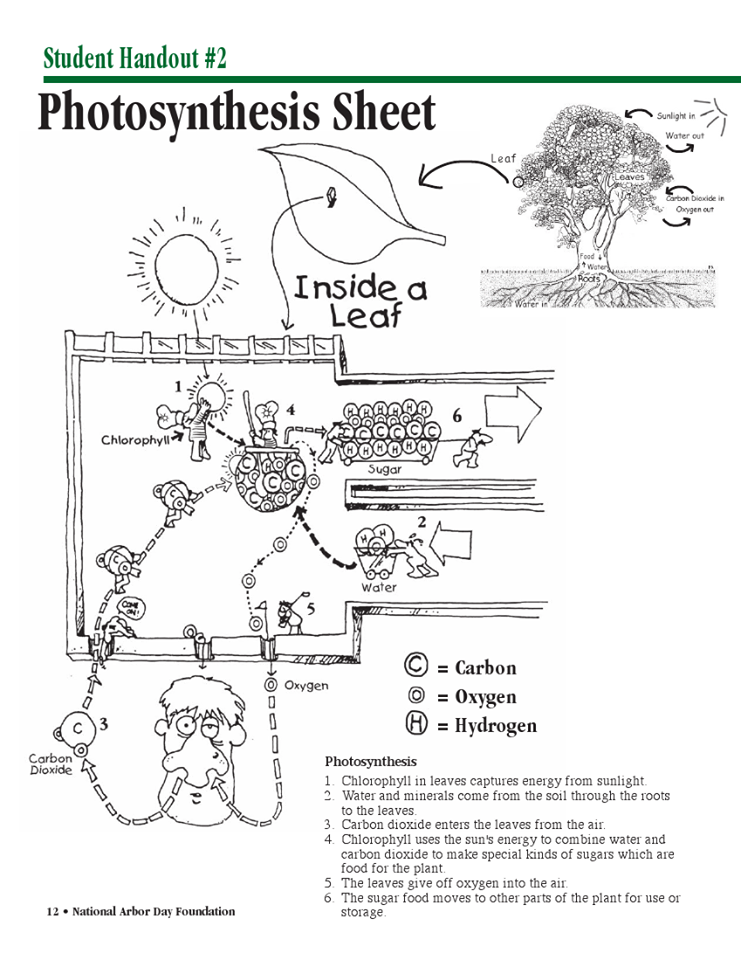
To review, sugar is made in the leaves--the leaf takes water from the roots and combines it with light from the sun and the carbon dioxide from the air to make the sugar for the plant and oxygen for us. It then sends the sugar down form the leaves and the sugar runs throughout the entire plant to feed itself. In order to combine the carbon dioxide and water, the leaf needs energy. Where do you think the energy comes from? The sun! This is photosynthesis!
Photosynthesis means putting together with light. This is exactly what leaves do.
Do you know why leaves are green?? Leave need to be green in order to perform their duties. Leaves are filled with a substance called chlorophyll. This absorbs the light from the sun, uses the energy and gives it its color. Chlorophyll literally fills the leaves with green color! So, if the leaf is not green, it can no longer do Photosynthesis. (HINT: grass works the same way)
Quotes of the Day:
Behold, my friends, the spring is come; the earth has gladly received the embraces of the sun, and we shall soon see the results of their love! -Sitting Bull
The greatest service which can be rendered any country is to add a useful plant to its culture.
― Thomas Jefferson
VOCABULARY:
Germination: The process by which a plant grows from a seed.
Transplant: To transplant or replant is to move a plant from one location to another.
Botony: The study of plants.
Radicle: The embryo's root.
Hypocotyl: The stem of a germinating seedling.
Epicotyl: The top parts of the embryo.
Plumule: Feather like leaves on the embryo.
Stomata: Pores in leaves.
Photosynthesis: The process plants use to change carbon dioxide and water into sugar using sunlight.
STEM
Introducing kids to the concepts of STEM early encourages their natural curiosity about the world around them. Getting kids excited about STEM activities can help them make their own connections and their own discoveries about how things work.
Science is a way of thinking and looking at the world
Technology is a way of doing and making things work
Engineering is a way of designing and building things that work
Math is a way of measuring, calculating and predicting results